Read more about **[creating a floor plan](https://help.heatpunk.co.uk/books/plans-task/page/creating-a-floor-plan "Creating a Floor Plan")** and how to speed up creating your floor plan by **[uploading architectural plans](https://help.heatpunk.co.uk/books/plans-task/page/pro-importing-floor-plans "Pro: Importing Floor Plans")** with Heatpunk Pro.
All emitters added to the *surveyed plan* will be listed as *Existing* in the Emitters tab. Read more about [emitters](https://help.heatpunk.co.uk/books/plans-task/page/emitters "Emitters") for details on emitter upgrades and UFH. Once you have completed your initial plan, click ***Finish surveyed plan*** at the top. ### Completing design option plan Design options are built on top of the surveyed plan. Here you can model the heat pump, cylinders and emitter upgrades directly onto the plan. [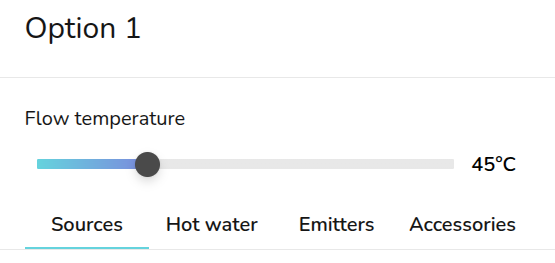](https://help.heatpunk.co.uk/uploads/images/gallery/2026-04/y4FU941YZaIWHfVb-image.png) On the right hand sidebar, you can **adjust the flow temperature** using the slider. From the Sources and Emitters tab, you can view how this affects the heat pump and emitter outputs.Changes made to the **room temperature**, **ACH** and **emitters** are specific to each design option. Changes will not apply across plans. Navigate back to the *surveyed plan* to make any changes to your existing emitters. Any other fabric or layout changes can be made from any design option but will apply to all of them. Read more about **[how design options work](https://help.heatpunk.co.uk/books/drafts-templates-and-archive/page/design-options-3Kw "Design options")**.
#### Sources [](https://help.heatpunk.co.uk/uploads/images/gallery/2026-04/PTdus0mdBXPnJVGo-heatpumpplacement.gif) To add a heat pump, while on a design option drag and drop a *Pump* from the left-hand sidebar. Once you have placed these on the floor plan, a menu will pop up to specify the model. ##### Sound check (UK) The sound check status can be seen on the right-hand side. Click the **⋯ three dots** and then the name of the heat pump(s) where the sound check hasn't been completed.Read more about [selecting a heat pump and completing the sound check](https://help.heatpunk.co.uk/books/plans-task/page/sources "Heat sources").
#### Hot water [](https://help.heatpunk.co.uk/uploads/images/gallery/2026-04/GZuj0C235ygScsya-cylinderplacement.gif) Similarly, to add a hot water storage, drag and drop from *Hot water* on the left-hand sidebar. A menu will then appear to specify the model.Read more about specifying [hot water storage](https://help.heatpunk.co.uk/books/heat-pump-task-and-system-performance/page/hot-water-storage), including information on domestic hot water calculations.
#### Emitters From the Emitters tab, you can see the existing, removed and new emitters for each room. You can click the **🡥** icon on each room to see the full room details. You can also add room overrides by clicking the exclamation icon and inputting the reason for the override. [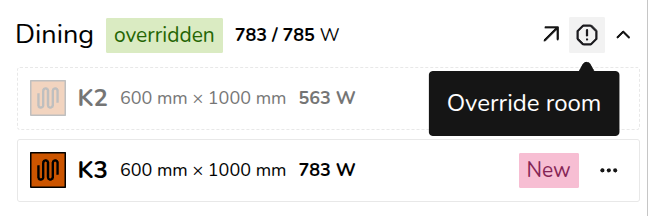](https://help.heatpunk.co.uk/uploads/images/gallery/2026-04/FCxdcsSMauBIV997-image.png) To model emitter upgrades follow the steps outlined below. - To upgrade existing radiators, click on the radiator from the plan and click upgrade. Input the new radiator details and save. - To replace an existing radiator with UFH, delete the radiator from the floor plan and add underfloor heating by clicking the **🡥** icon on each room. Click *Add underfloor heating* and input the output and m2.Read more about [emitters](https://help.heatpunk.co.uk/books/plans-task/page/emitters "Emitters").
#### Accessories Once you have added both a heat pump and hot water storage, a menu will appear to add any accessories. If possible, compatible accessories will be automatically selected. This step can be skipped. [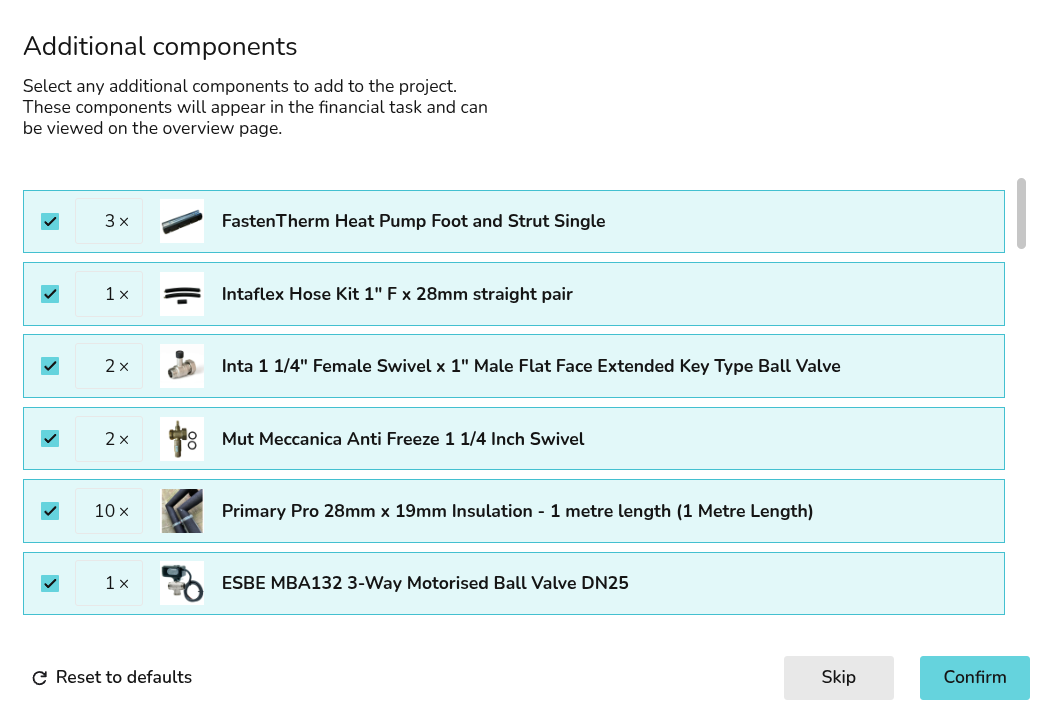](https://help.heatpunk.co.uk/uploads/images/gallery/2026-04/rSsoHAKBvmoaiRO2-image.png) To re-open the accessories menu, navigate to the accessories tab and click *+ Add Accessories*. If you already have accessories selected, click *Edit accessories*. [](https://help.heatpunk.co.uk/uploads/images/gallery/2026-04/ptSsF62kymJy7yup-download.gif) --- If you have further questions, please get in touch on