Pro: Survey Task and Installation record
The survey task allows the surveyor to enter all information required to plan out the installation in one location. Surveyors can answer the questions and add additional comments. Information is pulled through from the survey to a scaffolding request form which you can also access from the Forms drop-down.
The installation record works in many of the same ways as the survey task, it instead allows you to keep a good record of your install should any issues arise in the future. This form can also be e-signed by the installer and surveyor.
In both forms you can upload images and apply image annotations. A PDF report of the survey and installation record can be generated from the reports drop-down in the main navigation.
Accessing and filling out the survey and installation record
From any project, click the Tasks option in the main navigation menu, then select Surveys or Installation record.
Filling in survey and installation record
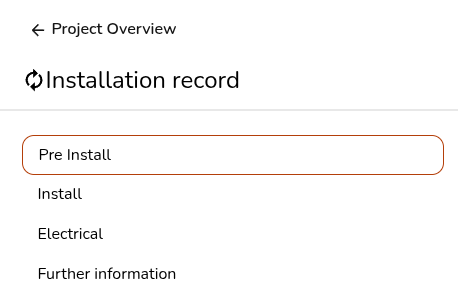
Both forms are divided into sections that can be viewed and navigated between using the right-hand menu.
|
|
|
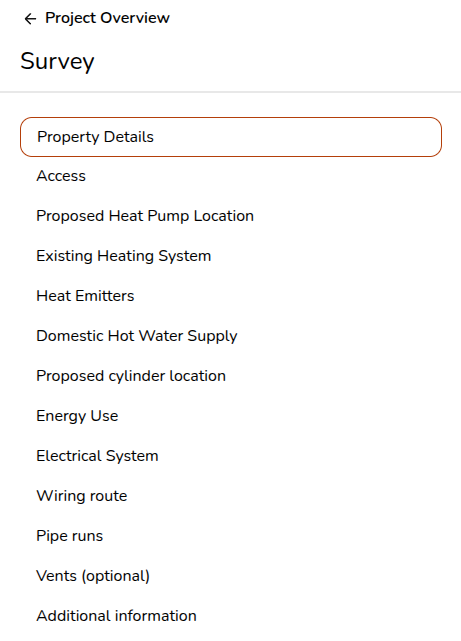
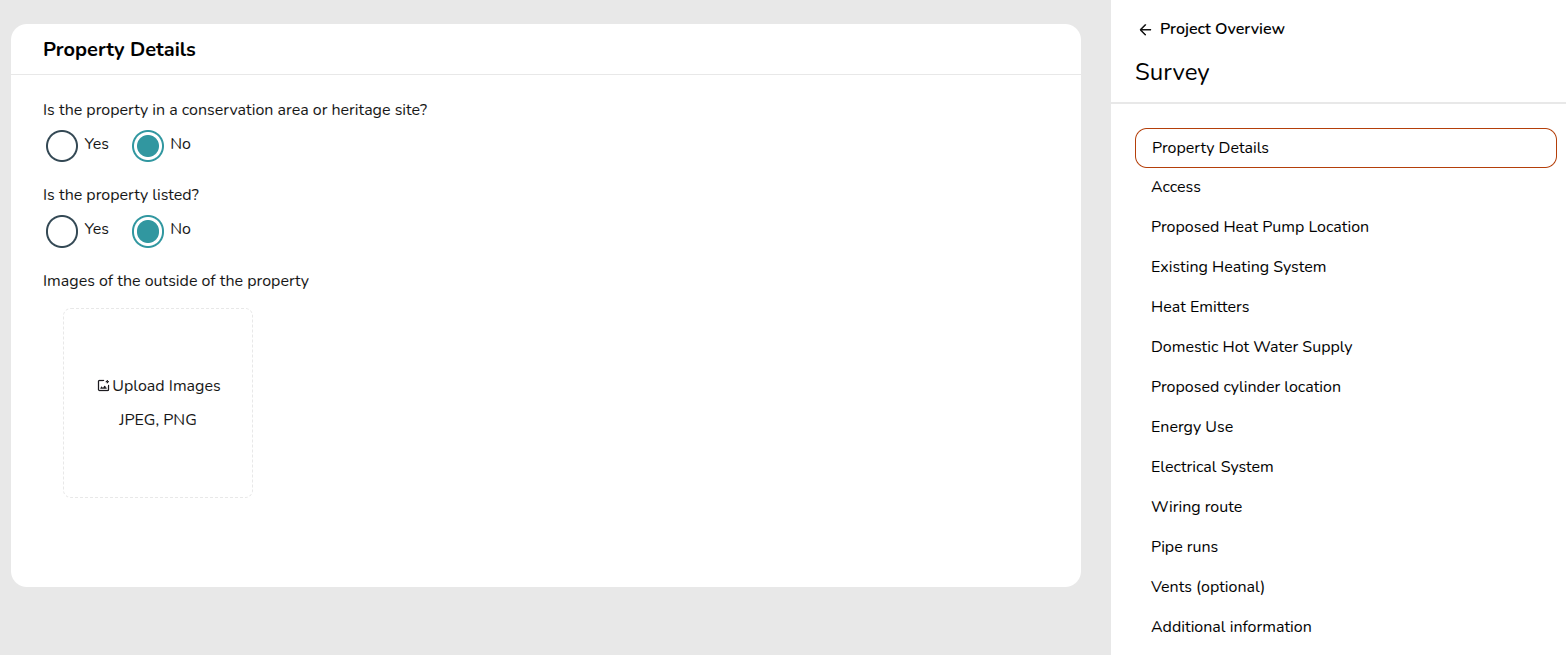
On the left, for each section you'll see each question to answer:
If you think an important question is missing from the survey or installation records, get in touch at help@heatpunk.co.uk and we can look into including it.
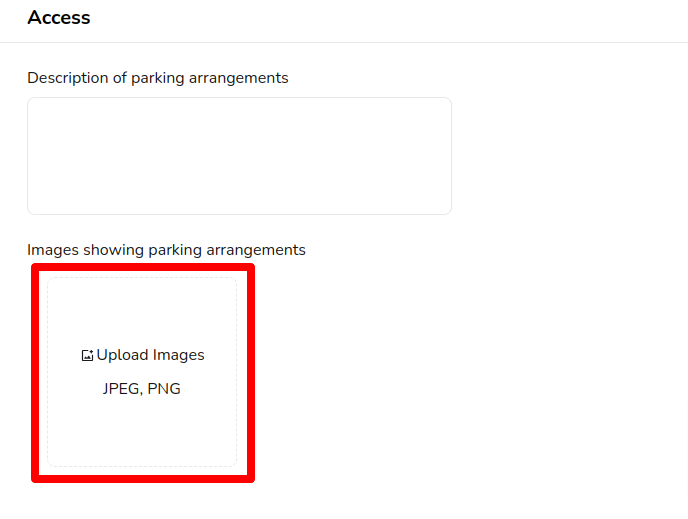
Uploading and annotating an image
There are various places throughout the survey and installation record where pictures can be uploaded and annotated.
Click on the Upload Images box and it will bring up the option to upload a picture from your files. If you are on a mobile or tablet device it will give you the option to take a photo. You can repeat this step to add multiple images.
Note that HEIC files (usually from mobile devices) are not supported at this time. If your phone, tablet, or camera is set to save pictures in this file format, please change this to save .jpg files in settings.
Once the file has been uploaded, you can click on the picture to bring up the annotation options.
 |
Use the bin button to delete annotations or the whole image.
The cursor lets you select annotations you have added to the image.
The pencil allows you to draw or write free-form.
The ‘T’ is used to create a text box.
The arrow lets you draw an arrow.
The colour box is where you can change the colour of annotations.
The tick mark saves your annotations and exits the annotations editor. |
The green bar at the left indicates which tool you are currently using.
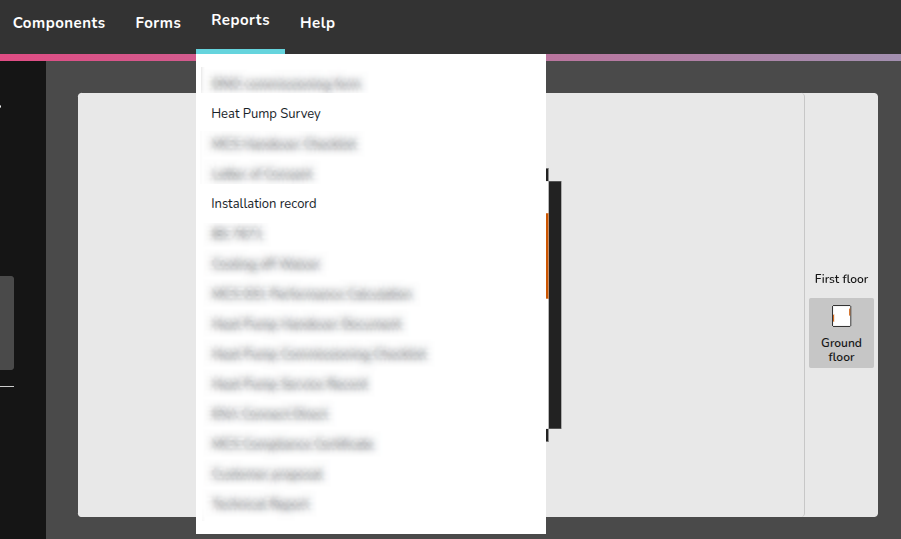
Accessing your survey and installation record as a PDF report
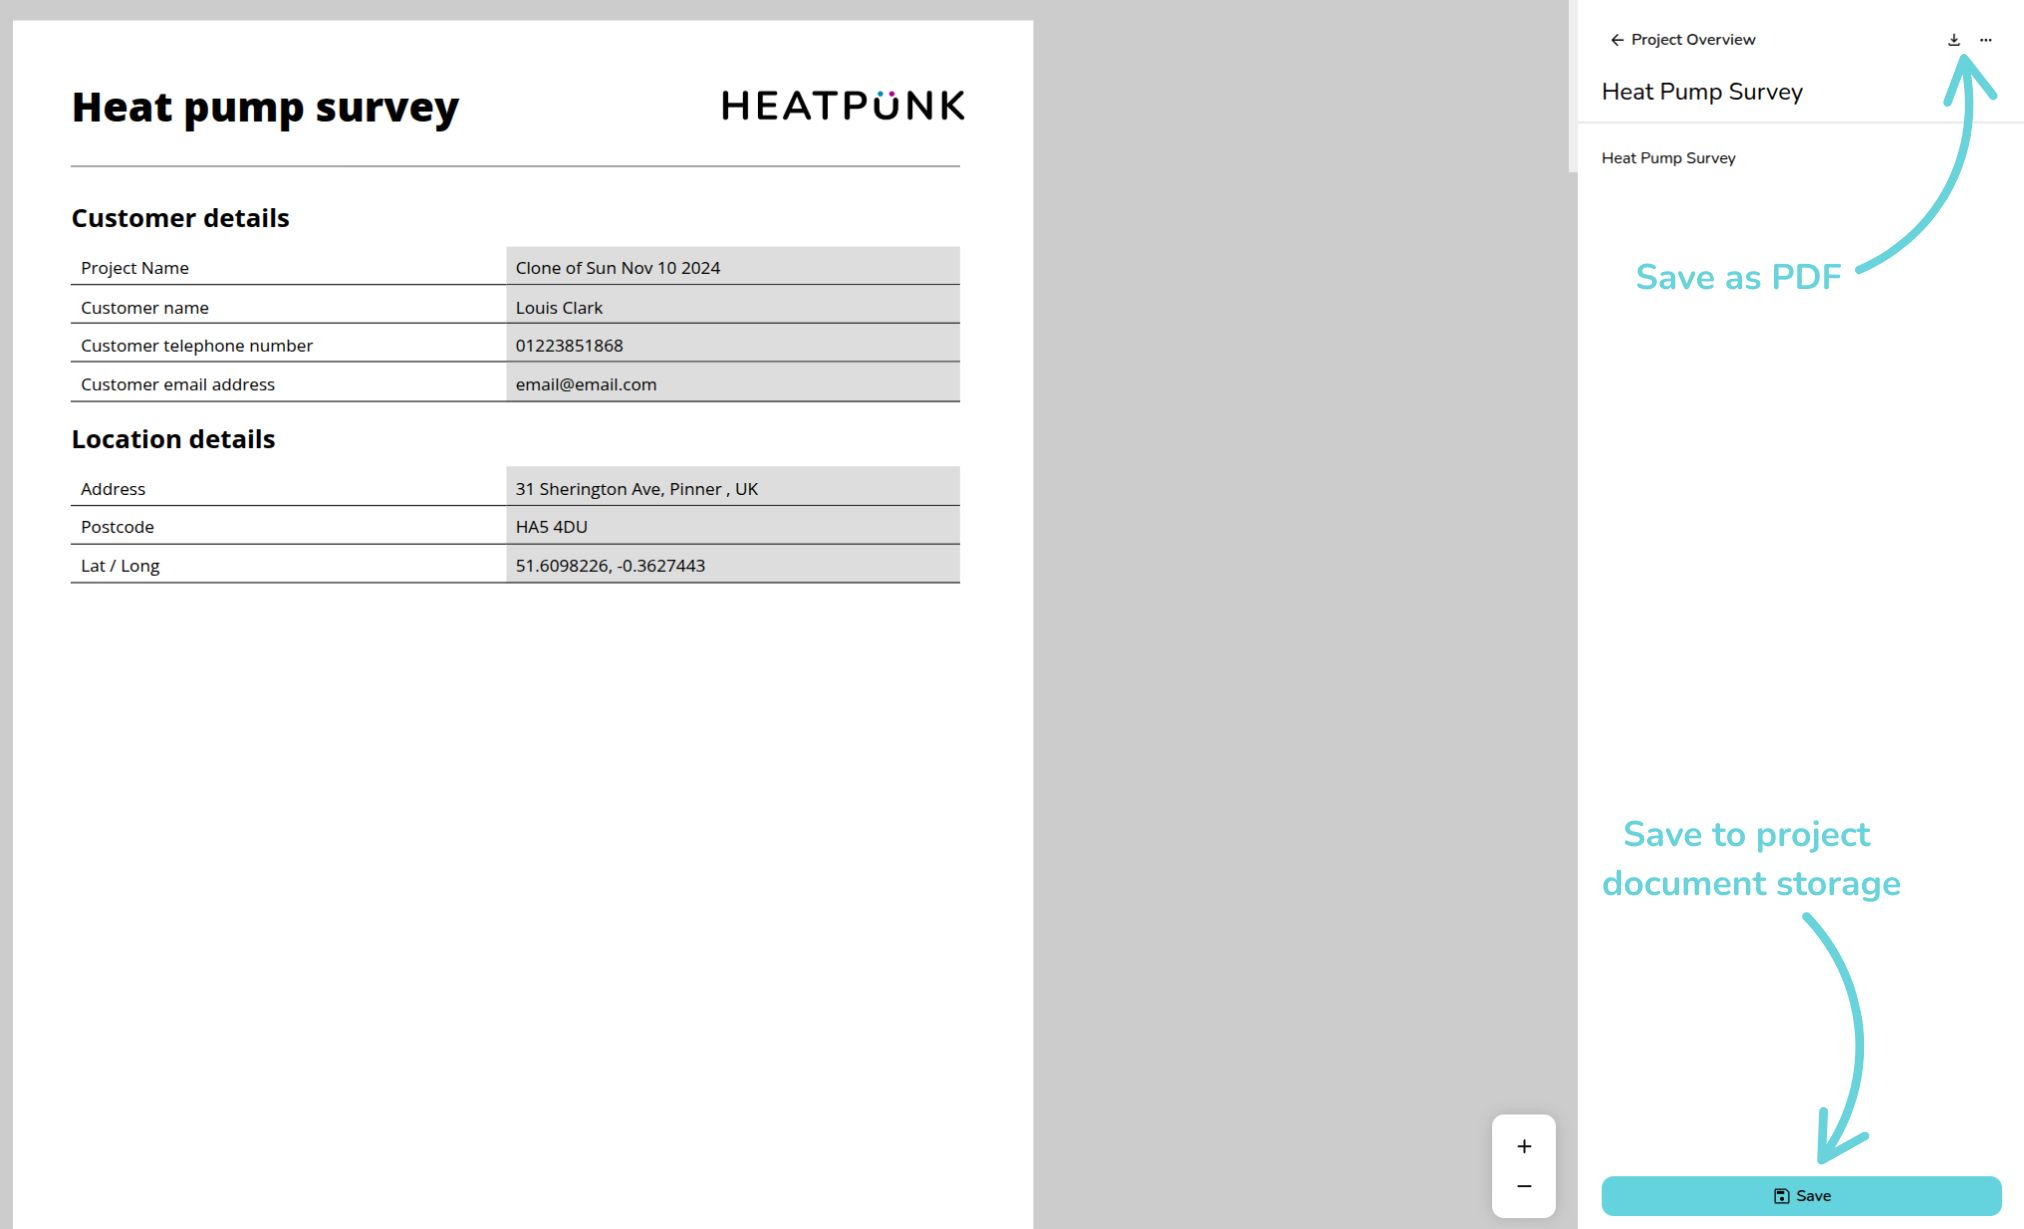
After the form is complete, the report can be found in the Reports drop-down. Annotated images, question responses, and an image of the roof layout will be carried forward to the survey report.
You can then scroll through the document with all your inputs, save as a PDF or save to your project's document storage
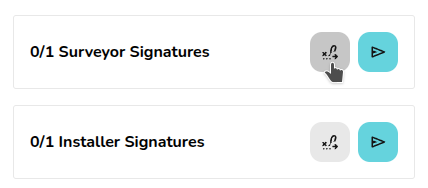
E-signing installation record
For the installation record, you also have the option for the surveyor and installation to sign the PDF. This can be done directly through Heatpunk or can be sent as an email for signing.