General
Overview
Brought to you by the Midsummer development team, Heatpunk represents our vision of accessible heat loss calculations for all. As a standalone web-based tool, Heatpunk offers a complete design package for both commercial and personal use. Offering industry-leading value, installers rely on Heatpunk to support their front-line sales teams with a feature rich all-in-one solution. If you're looking for help with designs, quotations, purchasing and the certification process, we've got you sorted.
Heatpunk is suitable for everyone! Heatpunk has been designed with simplicity in mind. No technical knowledge required. Simply let Heatpunk guide you through the design process step by step.
First time using Heatpunk? This video will walk you through many of the key features available, such as: choosing materials, creating a floorplan, choosing a heatpump, doing a performance estimate, viewing the report and filling out forms.
Connecting to Midsummer
Connecting your Heatpunk account to your Midsummer Wholesale account will allow Heatpunk to set its prices to your wholesale price level. This means you do not have to make changes to your goods prices in the financial task except for custom components.
To connect your wholesale account:
Managing Your Material Library
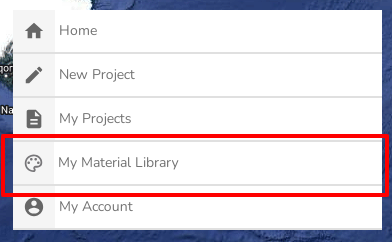
Materials are used in all your Heatpunk projects. They define the properties of walls, windows, door, floors, ceilings and radiators. You can access your Material Library from the Heatpunk home page.
Palettes
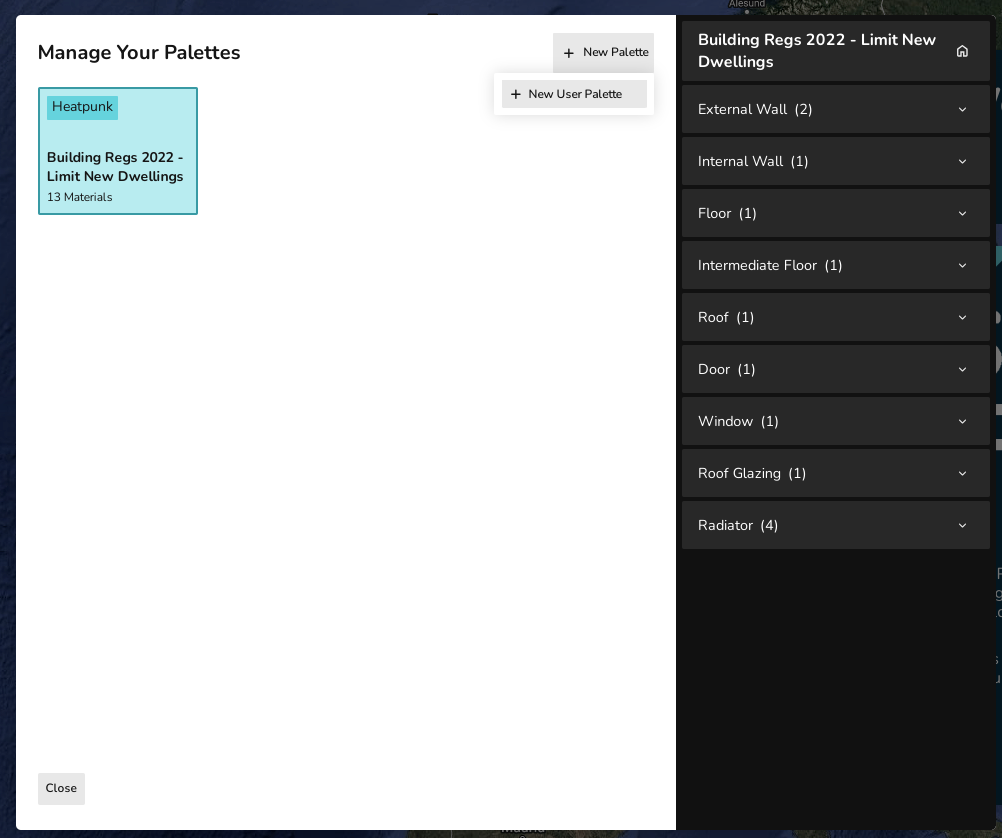
Materials in Heatpunk are stored in palettes. At the start of each project you will select a palette which contains the materials available to you in that project. Heatpunk includes a palette with a range of standard materials for you to use or you can create your own.
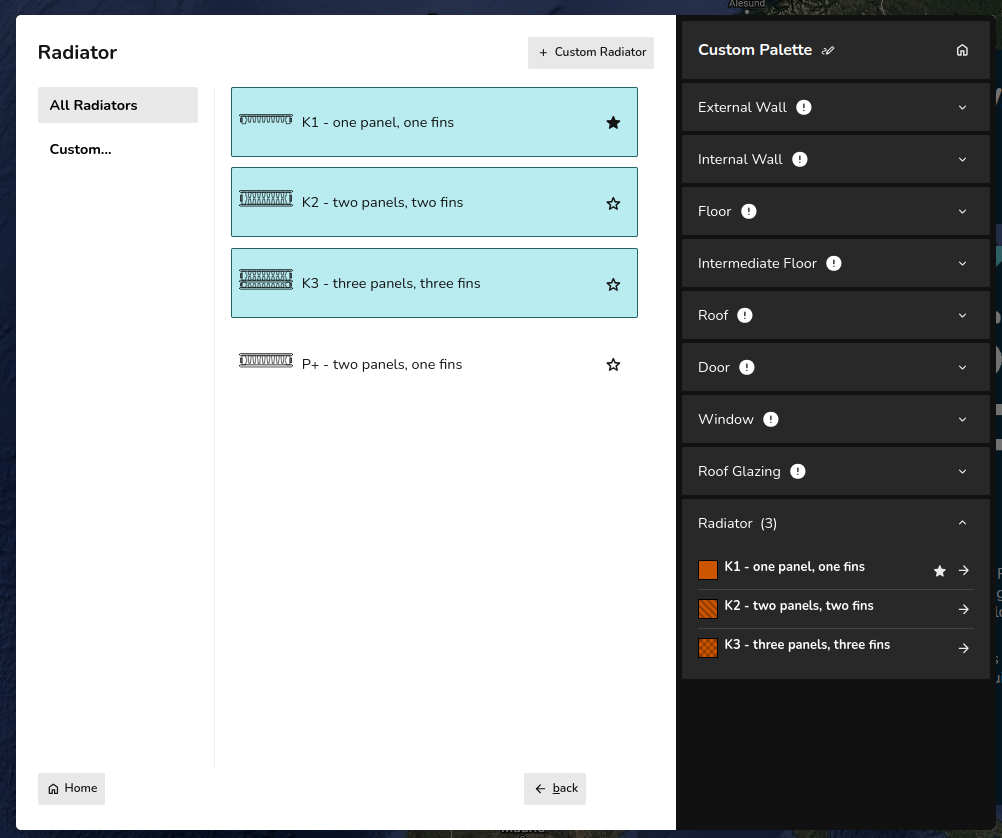
In each category you can star a material to make it that palette's default for that catergory. When adding to your floor plan, the default, starred material will automatically be used. This can be editted as necessary within a project.
Adding Materials
Once you have created a palette you need to add materials. You can either add existing materials or create your own. Their are two options when creating your own material:
- Build layers - adding materials by layers.
- Enter U value - adding materials with U-value
Windows, doors and roof glazing can only be added with U-value. Adding radiators differs from other materials as described below.
Each method for adding materials is described below and demonstrated in the following video.
NOTE: You must have at least one material selected in each category (external walls, internal walls, floor, etc). An exclamation mark will show next to categories that do not have a material selected. You do not have to use all the materials in your palette within the project.
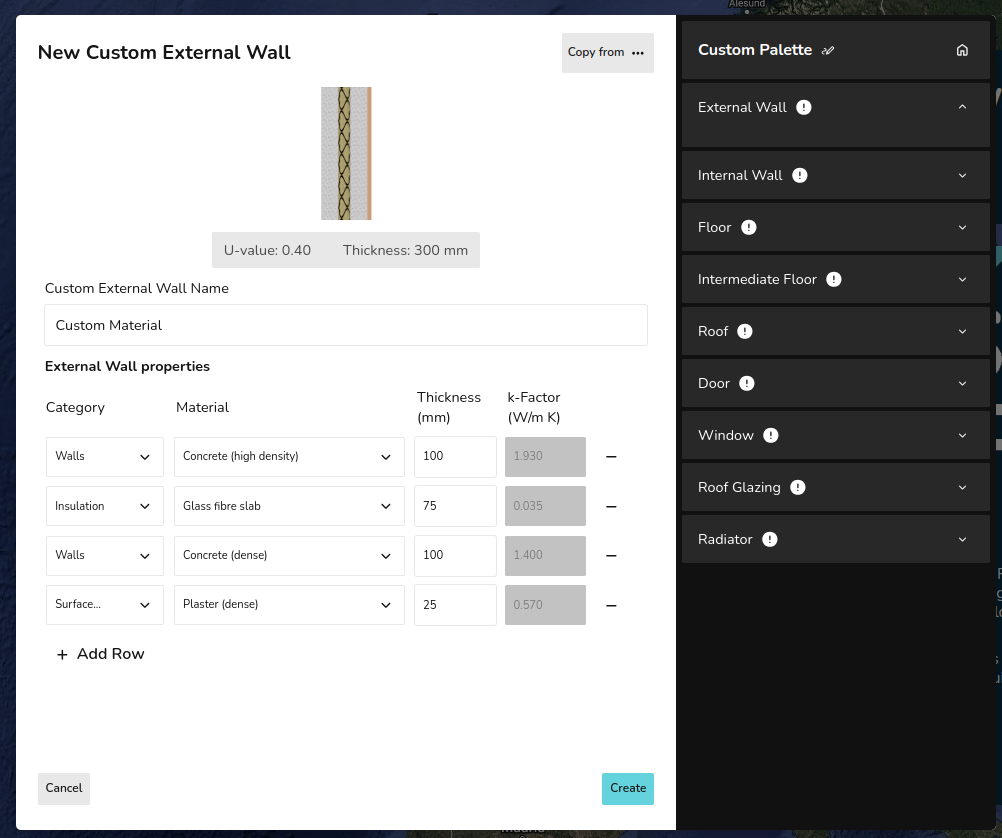
Adding materials by layers
When adding a material by layers, you need to define the Category, Material and Thickness of each layer. This will then generate a k-Factor for each layer as well as a U-value and total thickness for the wall. Adding rows will add layers. Layers can be removed using the - on the right.
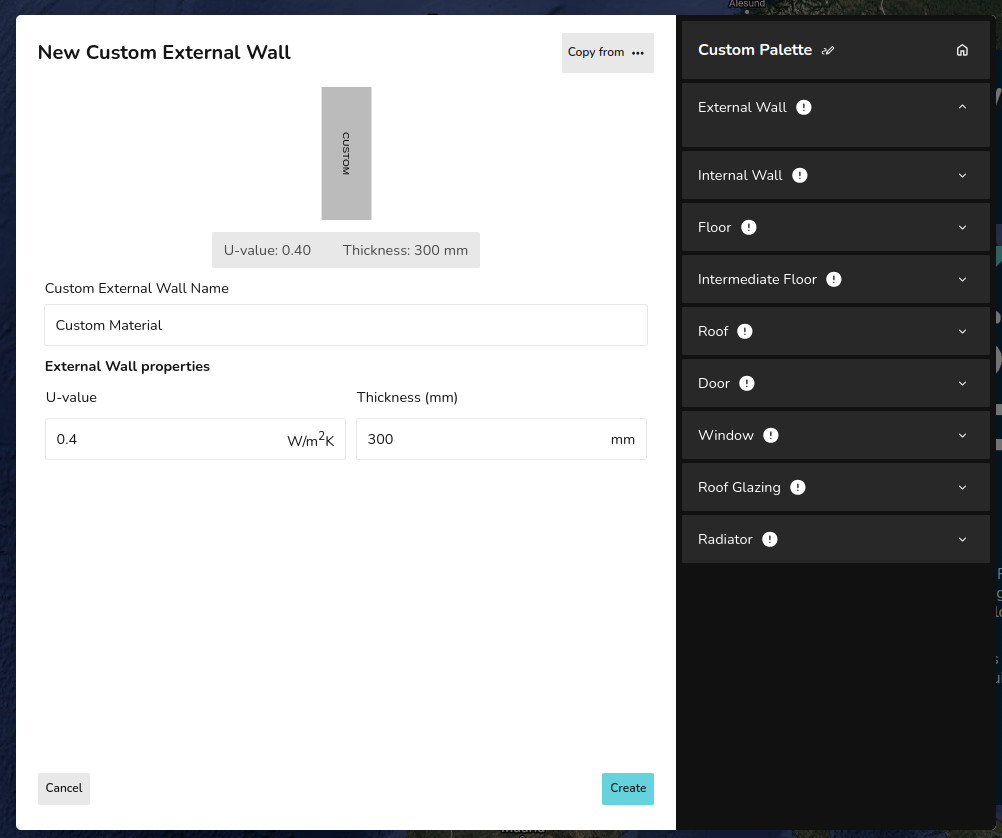
Adding materials with U-value
When adding a material with the U-value you simply need to input the U-value and thickness.
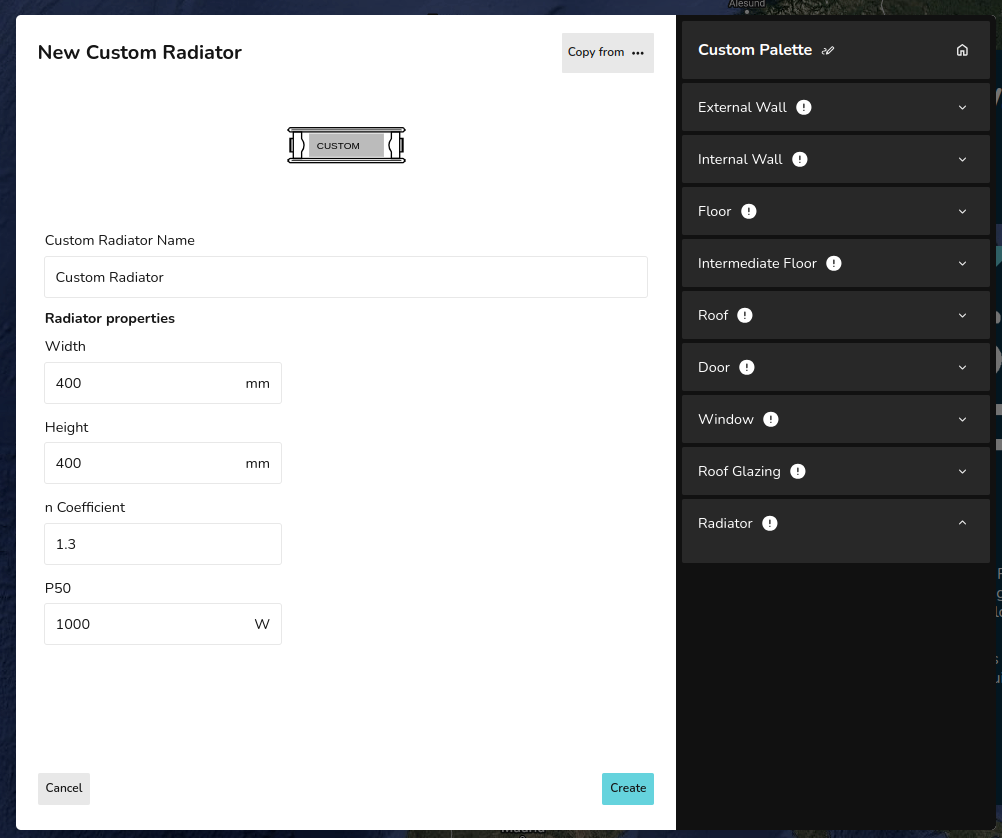
Adding radiators
When adding a radiator you need to define the default width and height, as well as the n coefficient, and P50 of the radiator. You can edit the width and height as necessary within your project.