
Floor and Ceiling Regions
Heatpunk automatically uses the default material of floors and ceilings defined in your material palette.
Regions are used if the height of a room or material of a ceiling or floor is different from the default. If the height and material are the same across the floor and match the default selected in the palette, you do not need to create a region.
For more information on how this fits into the rest of your floor plan, see Creating a Floor Plan.
Adding a region to change default material
When adding regions, make sure you only have one region covering any given area on your floor plan or this will lead to errors in your heat loss calculations.
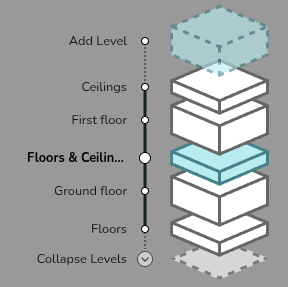
Step 1: Navigate to the relevant floor
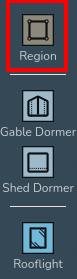
Step 2: Add the region
Drag and drop a region in from the left-hand menu. The shape of regions can be edited using the same handles as for rooms (see Creating Rooms).
Create as many regions as are necessary to correctly define each area of the floor/ceiling, as long as they do not overlap regions can be set to cover the entirety of the floor/ceiling or only certain areas. For areas where a region isn't defined, the default material and room height will be used.
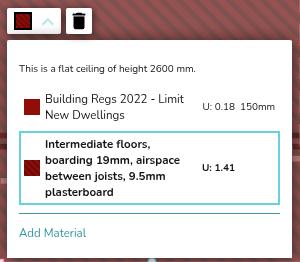
Step 3: Set the material of the region
Once you have added a region, click anywhere on it and use the drop down menu to change the material as required.
Step 4: Set the external temperature
For the ground floor or top floor ceiling, you should also set the temperature by defining what is on the other side (heated, unheated, ground) of the floor/ceiling. For intermediate floors, Heatpunk will do this for you.
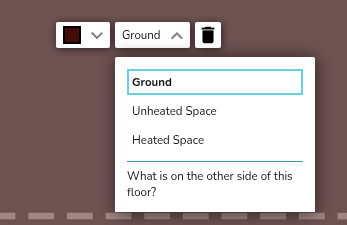
Unheated and heated spaces are taken to be 10°C and 18°C respectively. The ground temperature is based on your postcode.
Adding a region to change default height – vaulted ceilings and dormers
Setting the corner heights of a region overrides the height of the room below. Use this to model a room-in-roof with vaulted ceilings or dormers.
See the video below to learn how to add vaulted ceilings and dormers.
If you have further questions, please get in touch at help@heatpunk.co.uk or help@heatpunk.ie.