
Pro: Importing Floor Plans
This feature is only available to users with a Heatpunk Pro subscription.

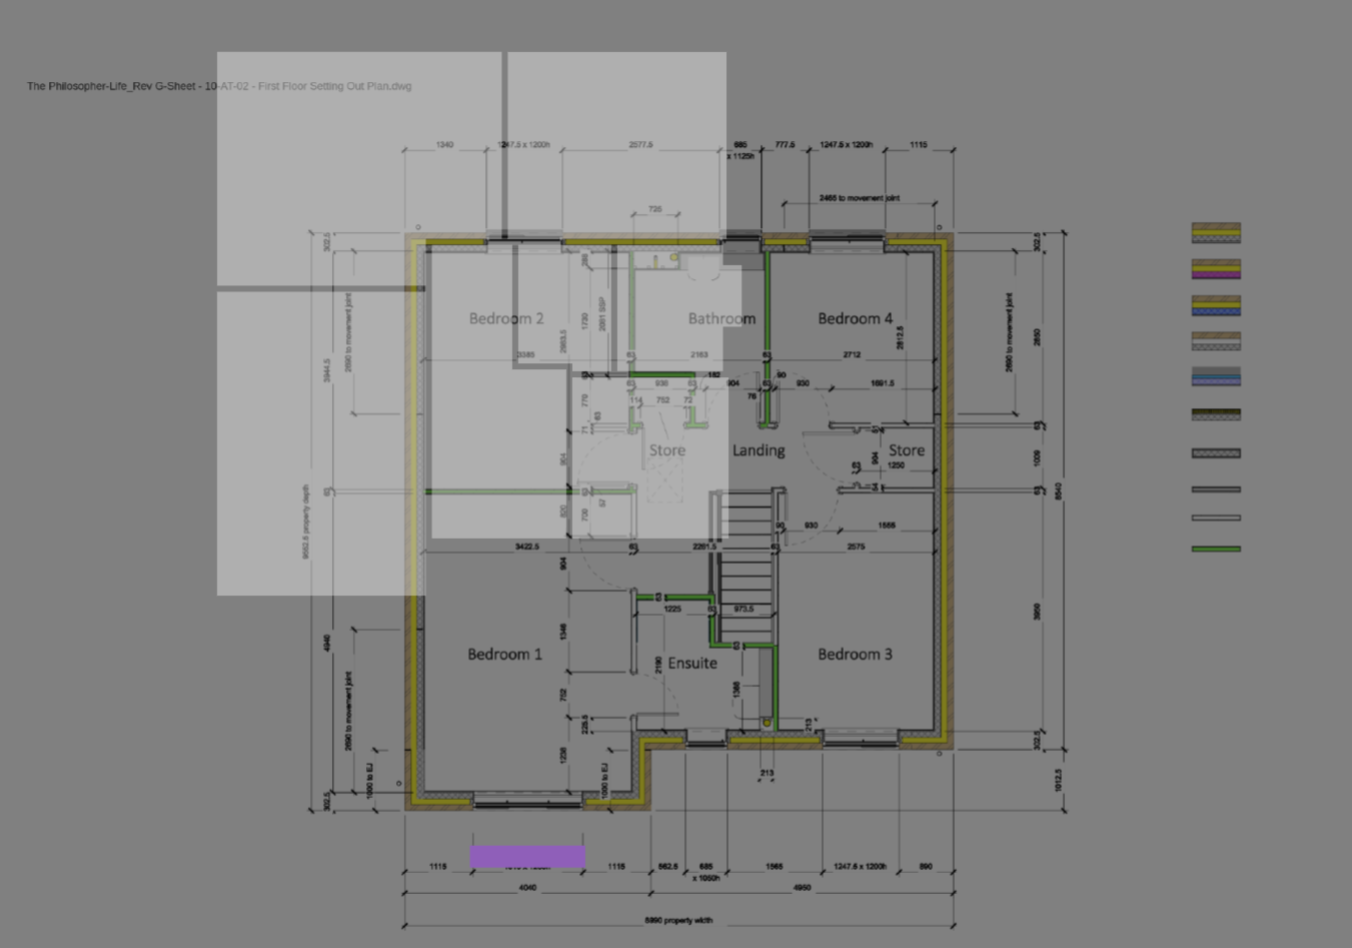
Import aImporting floor plan to a projectPDF
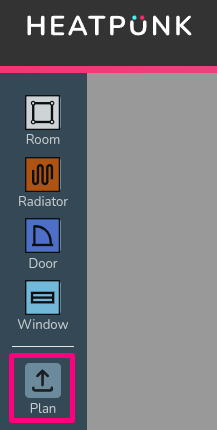
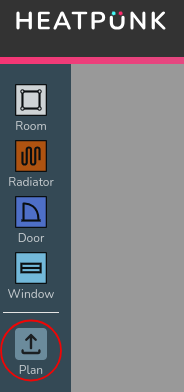
Open an existing project or create a new project and navigate to the floor level you want to upload the plan to. Click on the plan button on the left hand side of the page to upload a plan.
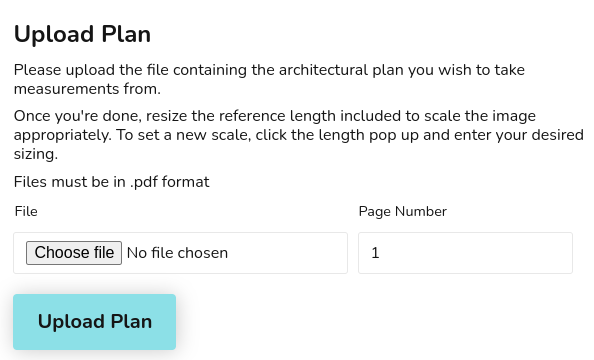
Step 1: Upload the floor plan PDF
Click chooseChoose file to browse the files on your computer. If your file has multiple pages, set the specific page that contains the floorplanfloor plan you want to use. Click Upload Plan to continue.
For additional levels it's important to align the floor plan with the floor below. See Step 4 for how to do this.
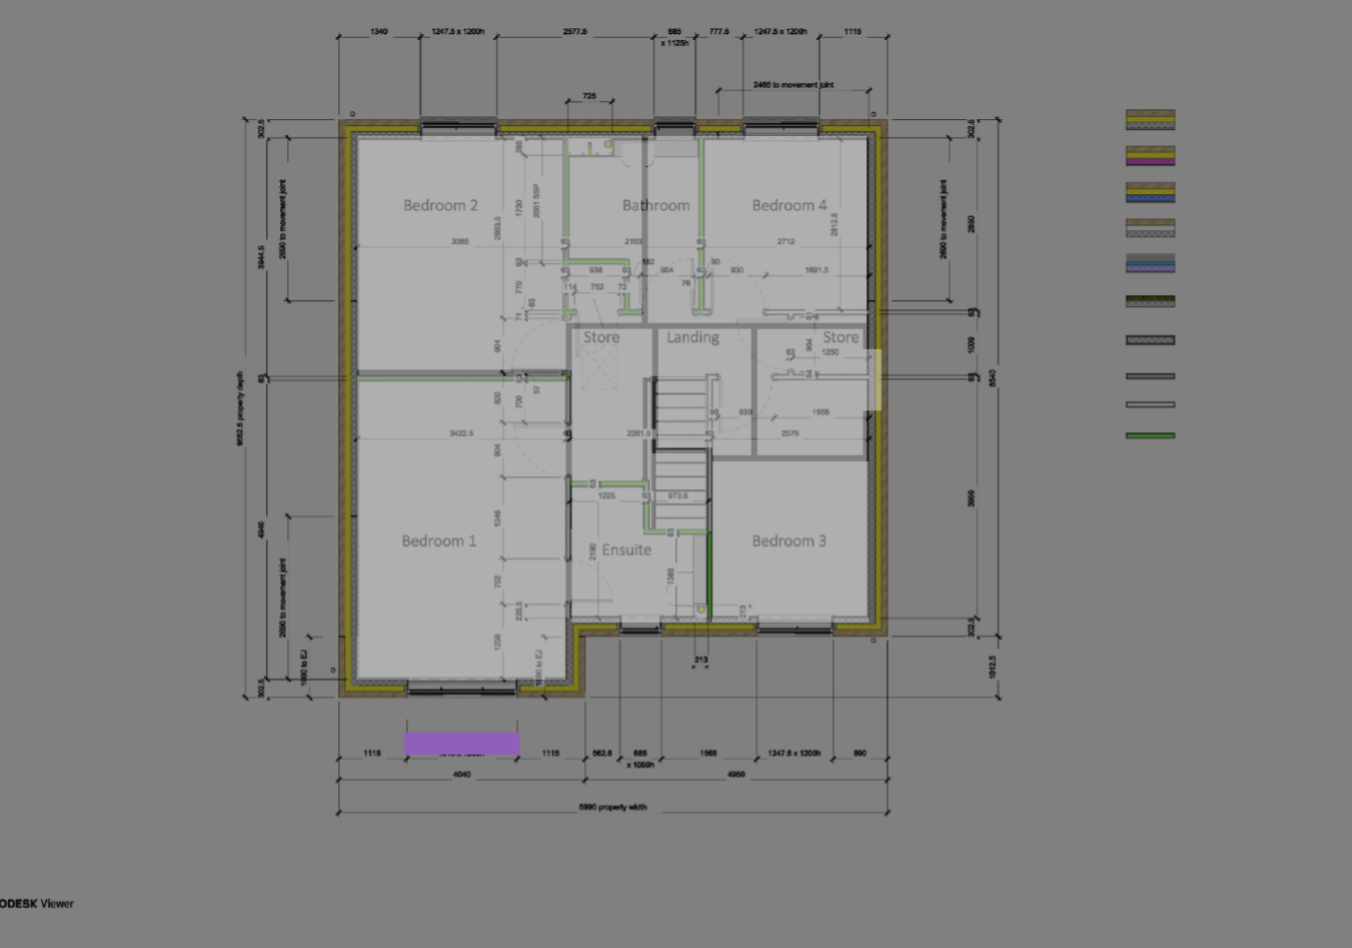
Step 2: Set the scale
Use the purple reference length bar to set the scale:scale.
- Drag the reference length bar over to the plans scale or an object of known length.
- Set the size to match and then click on the dimension to enter the relevant value.
Ex: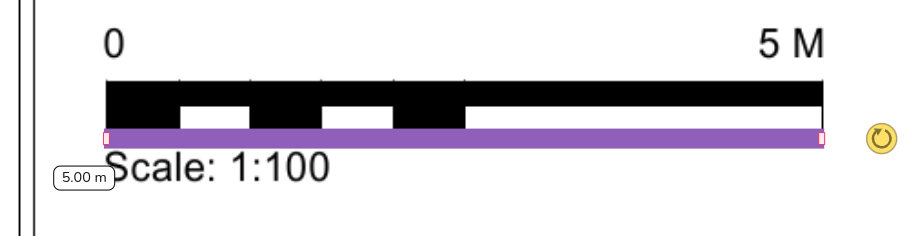
Step scale3: represents 5m, I've set the purple ref length bar against it and set it's dimensions to 5m.

Add rooms basedto on the imported floorplan
Add rooms as you normally would in Heatpunk, but now you can overlay them onto the background plans. Align the walls with yourfloor plan - this will automatically set them at the right size based on the sale of the uploaded plan.
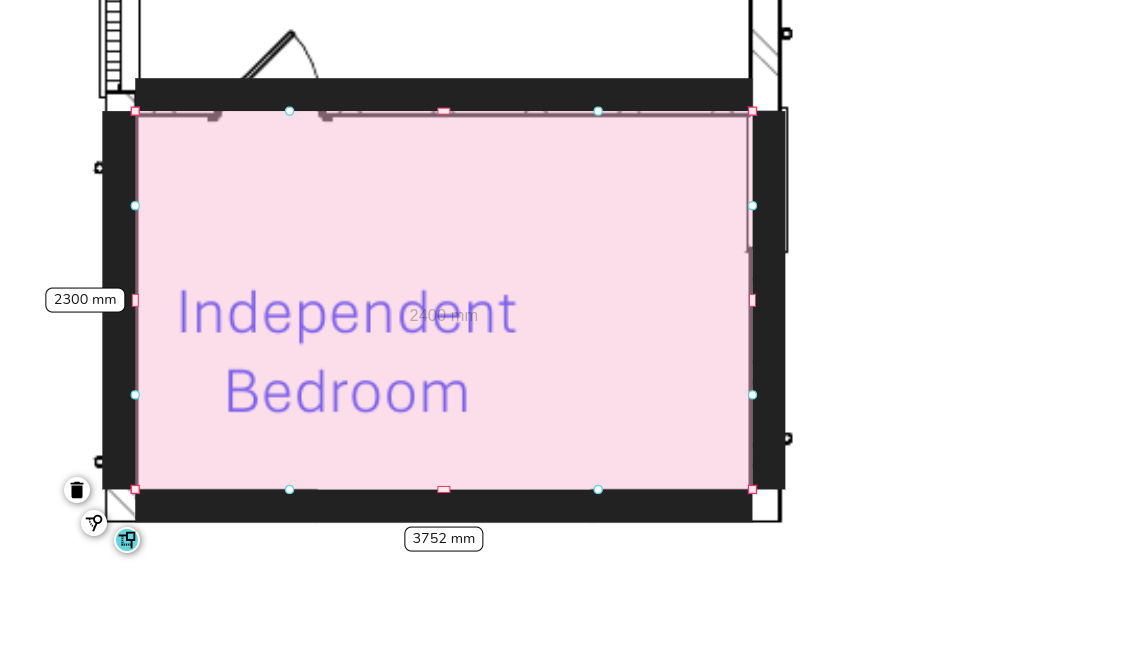
Continueand addingdrop rooms to build up yourthe floor plans.plan Clickingas normal, using the PDF plan as a guide. Read more about creating rooms and floor plans to help with this step.
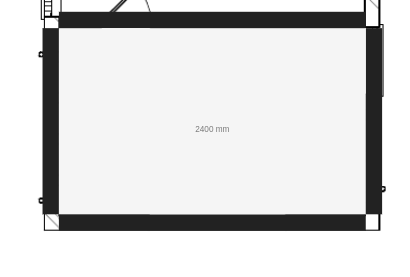
- Click and hold the
sidemiddle ofrooms,aorroom to make the rooms transparent and show the floor plan upload below. - Click on the walls
willof a room to turnoffthe transparency off andallowviewyouthetowall and room properties.
Step 4: Repeat for additional levels and align plans
Add level and repeat step 1-3.
After uploading plans for additional floors, ensure the floor plan is correctly aligned with the floor below. Double click and drag the plan see the roomsfloor asbelow normaland to select wall type, room type, etc. Clicking a holding for 2 sec onalign the room will turn it back to the transparent mode so you can see the plans behind again.
Repeat this process for additional floor levels
Once you've done your ground level, you can add in a level above. When you add a new level, click the 'Plan' button to import the relevant PDF.
Align plans with rooms below
Once your plan is uploaded you will need to align this with the rooms below. To do this, double click on the plans to select them, once selected you can move them. As you move the plans they will become transparent allowing you to see the outline of the rooms below. This should allow you to line up the plansfloors correctly.
|
|
 |
Watch the twofeature PDF'sin haveaction
Importing samefloor scaleplans itcan shouldmassively alreadyspeed beup correct),design andtime. then continuing to create your plans.