
Emitters
This guide covers and update coming to Heatpunk UK April 27th 2026. Read more about it here.
Emitters are added in the Plan task. Add existing emitters to the the Surveyed plan and adjust the flow temperature on the right-hand sidebar to clearly see where upgrades are needed. On a design option you can then model any emitter upgrades.
Below is a short video demonstrating how to add and upgrade radiators and underfloor heating.
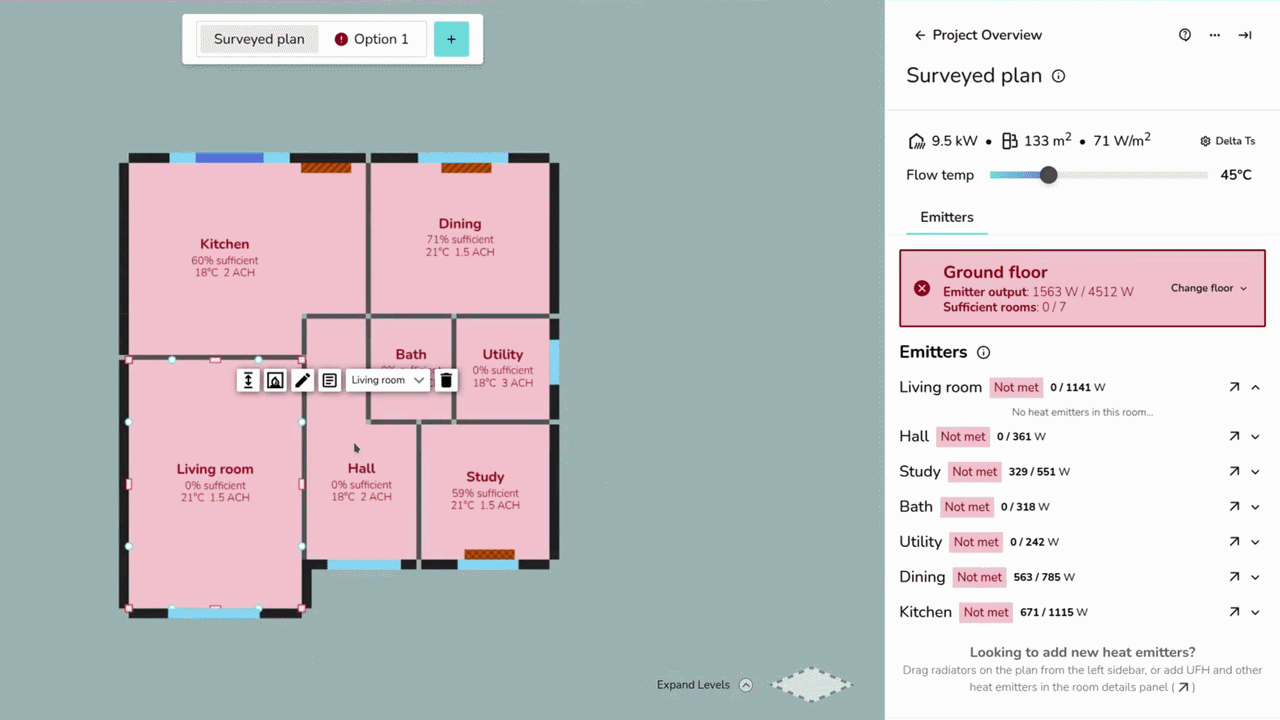
Emitters tab
As you build your floor plan, you can access a range of controls and details in the Emitters tab:
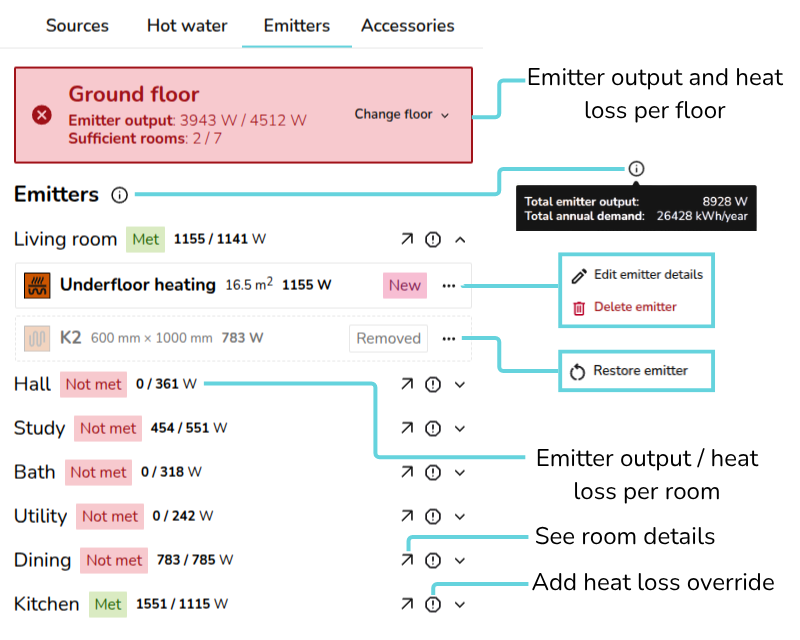
- View heat loss information per floor and navigate between floors
- Emitter output: total floor emitter output / total floor heat loss
- Sufficient rooms: no. of rooms where heat loss is met / no. of rooms where heat loss is not met.
- Hover over the 🛈 icon next to Emitters to view the total emitter output and annual demand for the
propertyproperty - For new or existing emitters, click ⋯ three dots to edit details or delete. On removed emitters click the ⋯ three dots > Restore emitter to add it back to the design option.
- Each room displays whether the heat loss is met and
thethe room emitter output / room heatlossloss - Click 🡥 to see room details
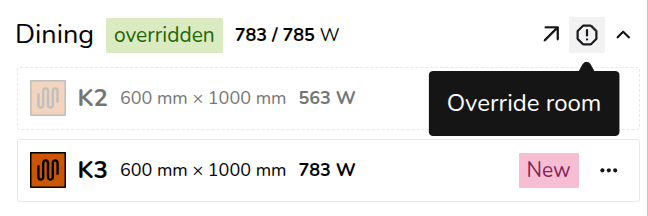
- Click the exclamation icon to override the heat
lossloss for that room.
Edits to existing emitters from the Emitters tab apply to all plans. Read about emitter upgrades below.
While on the Emitters tab, as you adjust the flow temperature, you can see directly on the floor plan whether the heat loss is being met:
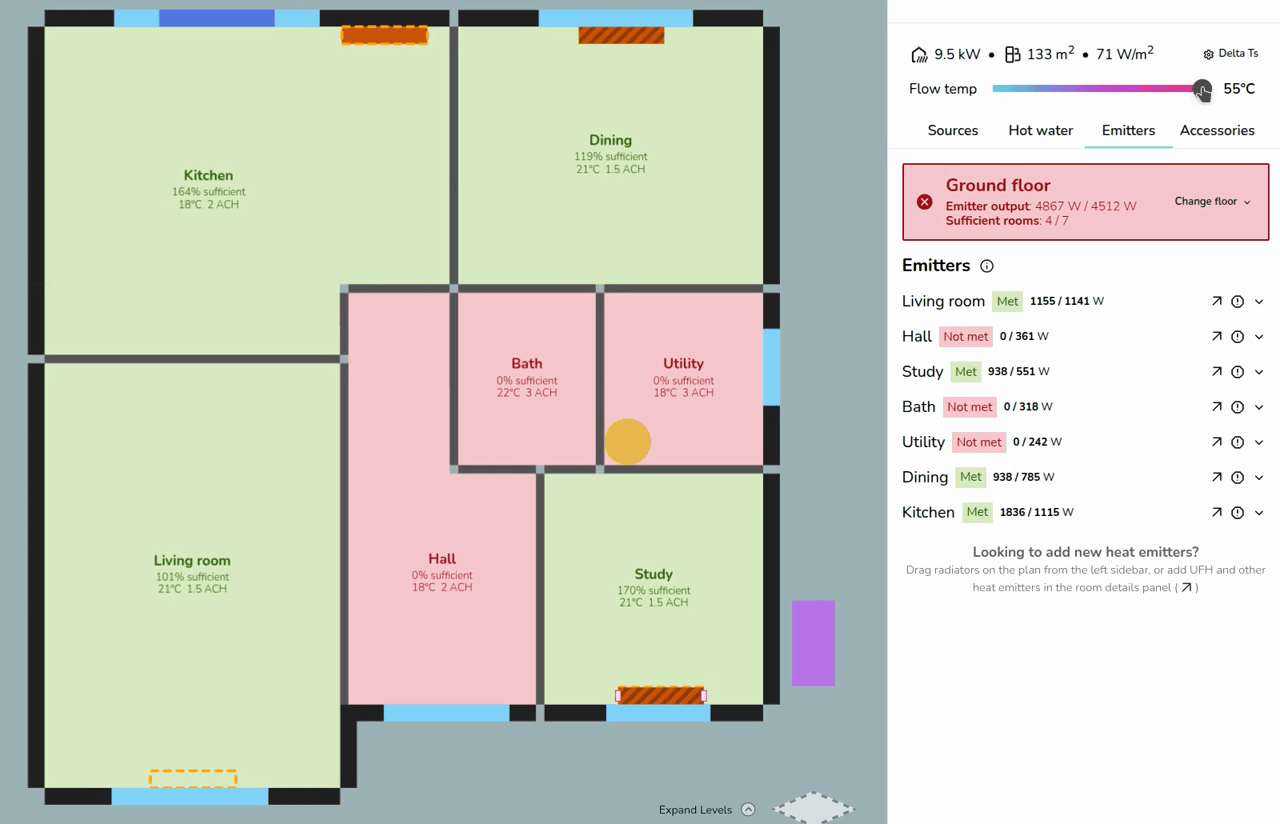
UFH and other non-radiator emitters have a fixed output that does not change with flow temperature in Heatpunk. As seen above, the living room output remains the same.
Adding emitters
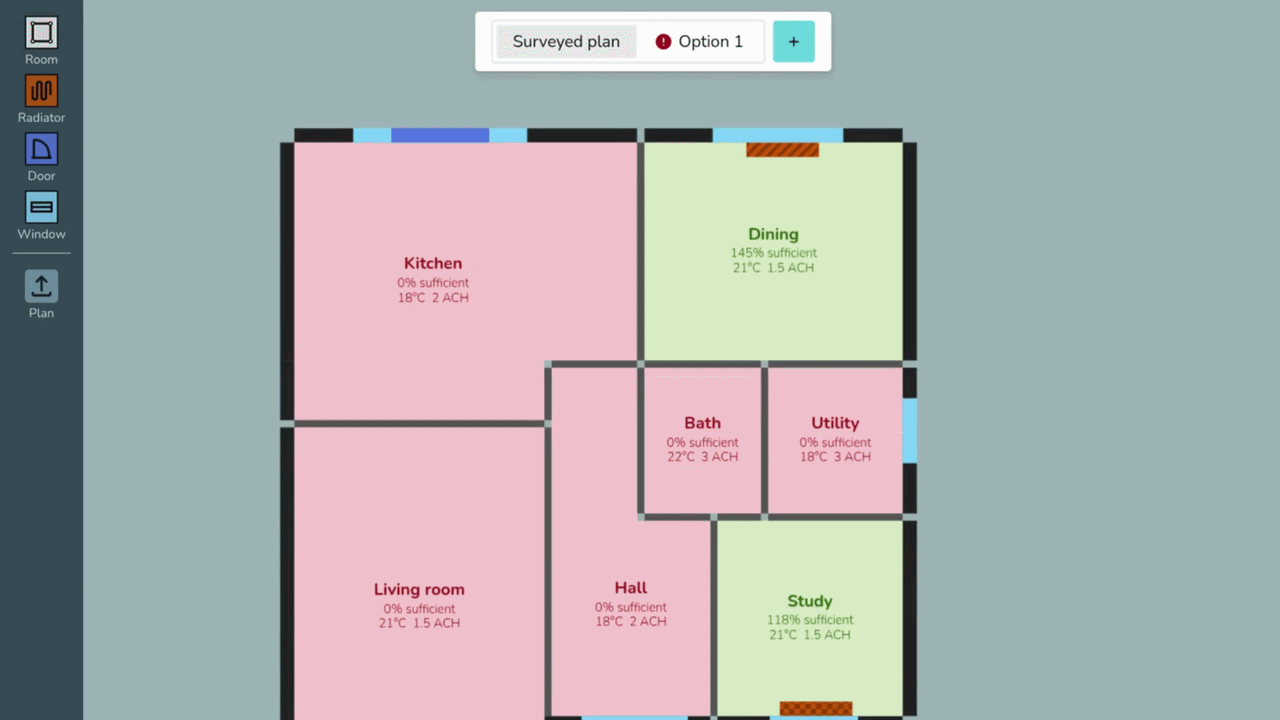
You can add emitters in both the Surveyed plan and design options. Emitters added to the Surveyed plan apply to all design options, while emitters added within a design option apply only to that option.
Adding radiators radiators
To place radiators on a floor plan, drag and drop from the right-hand sidebar.
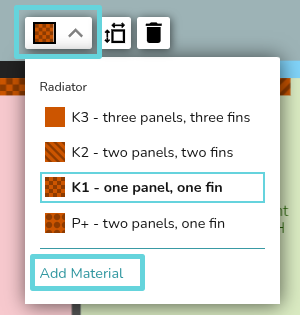
Click on the radiator to edit the type and size or remove from the plan. If the type you are looking for isn't listed, click click Add Material to add radiators to your material library.
Adding underfloor heating or other emitters emitters
To add underfloor heating, navigate to the Emitters tab and click 🡥 See room details on the room. Below the room details, then click click Add underfloor heating or or Add other emitters.
Emitter upgrades
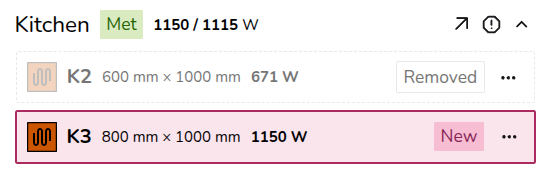
To complete emitter upgrades, make sure you have a design option selected. When you add, upgrade, or remove emitters, this is clearly labelled for each room:

- Existing: emitters added to
thethe Surveyed plan. - Removed: existing emitters deleted or replaced on a design option.
- New: emitters added to a design option.
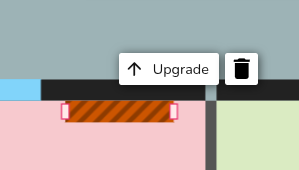
Radiator upgrades
Click on the radiator on the plan and then click upgrade.
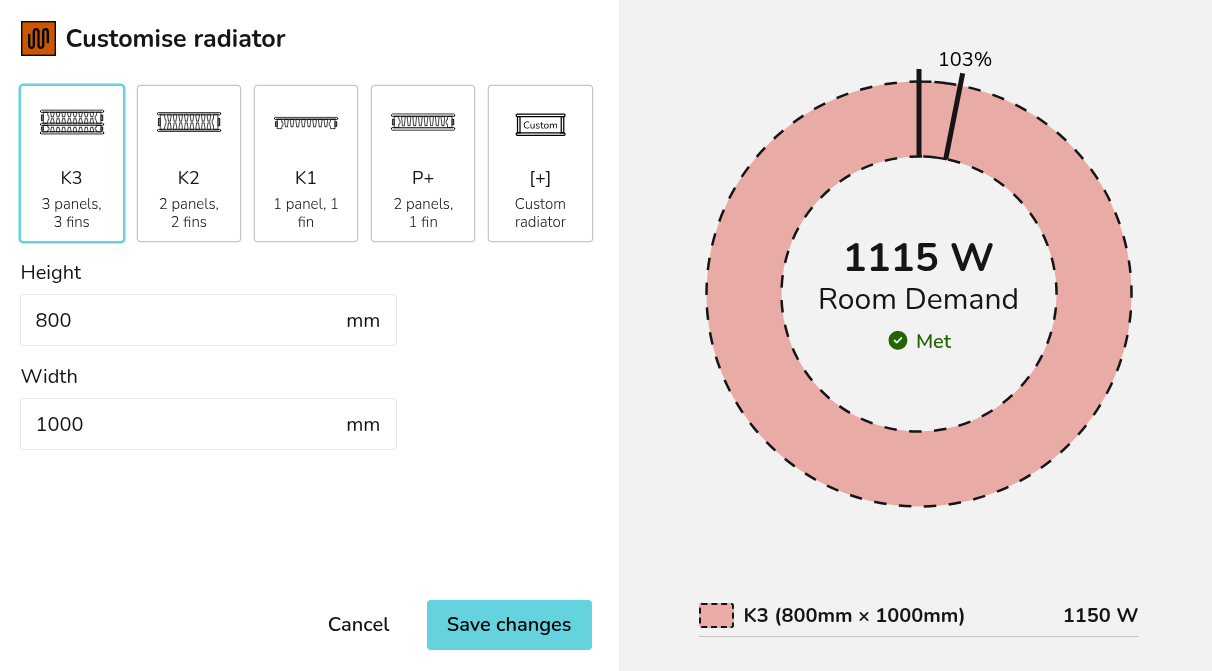
Clicking Clicking Save changes changes will delete the existing radiator from the floor plan and replace it with the new radiator.
Underfloor heating and other emitters upgrades
If you are replacing the radiator with underfloor heating (or another emitter), delete the radiator from the plan and follow the steps above to add UFH/other emitters to a project.
Overriding heat loss
To override the heat loss on a room, click the exclamation icon. Input the reason for the override and save.
The text will then appear on the floor plan. To view the full text, click 🡥 See room details.