
Creating a Floor Plan
Overview
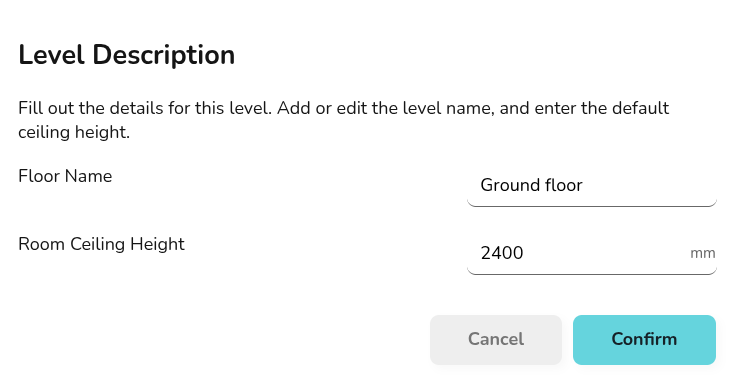
When you create a project, you will be prompted to select a material palette and then input the default height for the rooms in the property.
If you are a pro user, at this point you can also upload a floor plan PDF to to use as a backdrop when creating your plan.
Creating rooms
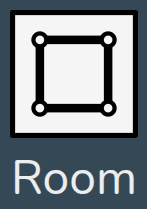
Drag and drop a room from the left-side menu into position and size to the correct shape.
Adjusting room properties
Click on each room to view the following options:


Adjusting wall properties
External walls will display as black and internal walls will display a dark grey. Click on each wall to view the following options:


Make sure rooms are locking together correctly so external/internal walls are correctly identified. Rooms should not overlap, if a room has an open doorway this should typically be modelled as one room.
[correct and incorrect example? overlapping room, external wall in internal room]
Adding radiators, doors and windows
internal doors

adjusting material and size
adding other components
Adding floors
set material between floors if not using default - link to floors and ceilings guide
align rooms with floor below