Creating a Floor Plan
afterWhen you create a project, you will be prompted to select a material palette
selected,andstartthencreatinginput the default height for the rooms in the property.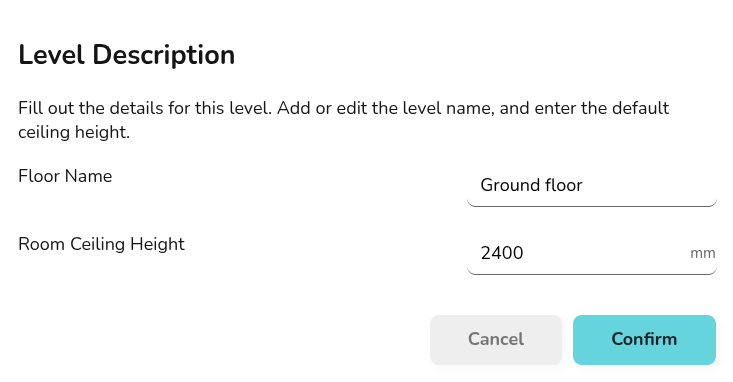
If you are a pro user, at this point you can also upload a floor plan
dragPDF to to use as a backdrop when creating your plan.Creating rooms

Drag and drop
roomsaand componentsroom from the left-sidemenu,menusizinginto position and size to the correct shape.andadjusting material composition for accurate heat lossfull video of creatingAdjusting room
(notpropertiesexplaining toggles, just using) > completing floor (locking rooms together) > adding floor
creating floor plancreating roomdrag room, resize (link to guide - precise focus, detailsClick on each
toggle)room to addingviewotherthecomponentsfollowing options:


Adjusting wall properties
External walls will display as black and
adjustinternal walls will display a dark grey. Click on each wall to view the following options:

Make sure rooms are locking together correctly so external/internal walls are correctly identified. Rooms should not overlap, if a room has an open doorway this should typically be modelled as one room.
[correct and incorrect example? overlapping room, external wall in internal room]
Adding radiators, doors and windows
internal doors


adjusting material and size
(link to guide - choosing material, adjusting size)
adding
otherrooms- components
internal doors and wallsnot overlapping - rooms with open doorways modelled as one heated space
additionalAdding floors
set material between floors if not using default - link to floors and ceilings guide
align rooms with floor below