Creating a Floor Plan
Creating Rooms
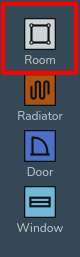
Rooms can be dragged and dropped in from the menu of the left.
When editting a room you can:
- Click the square corner handles to show dimensions of the associated walls. You can then click on the values to manually change these.
- Click on the pink corner handles to toggle between a square and circle handle:
- Use the square corner handles to resize the room whilst keeping the adjacent walls at the same angle.
- Use the circle corner handles to move that point independently of the other points to create angled walls.
- Click and drag the blue circle handles to allow you to split a wall and create irregular shapes.
- Click on the pink rectangular handles to toggle between a square and curved cornered handles:
- Use the square cornered handle to extend a wall out.
- Use the curved cornered handle to extend the adjoining wall independently of the others.
These tools are demonstrated in the video below.
Changing Room Properties
Once you have created a floor plan you can change the properties of each room by clicking on it.
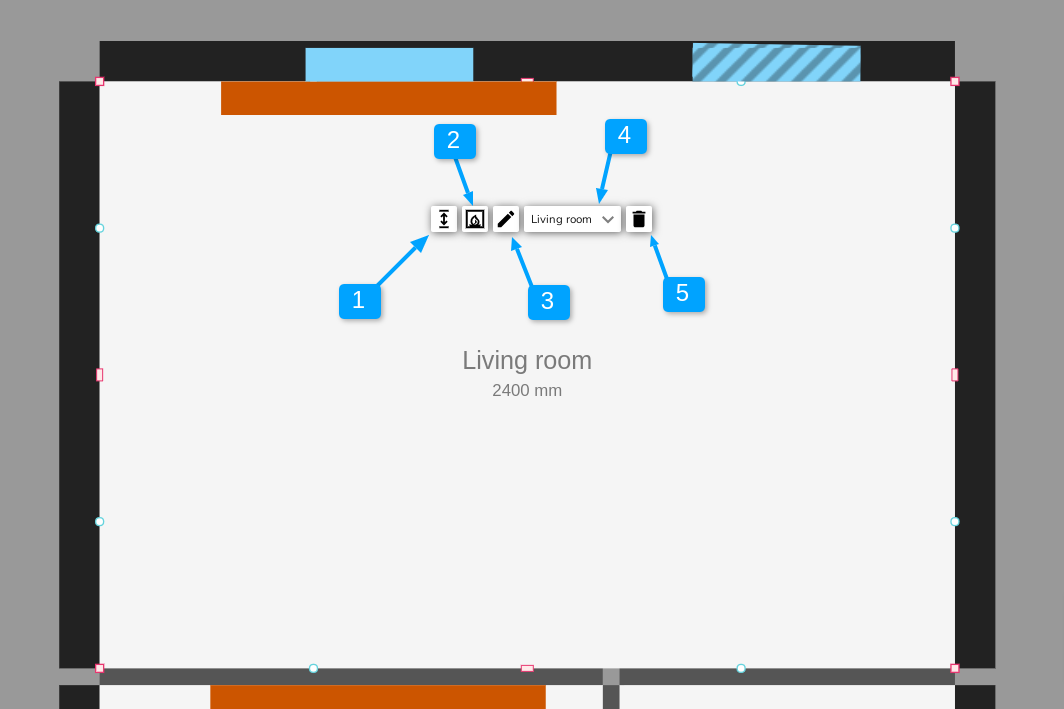
- Use this tool to change the height of the ceiling. Note, this is for the selected room only. See our guide on Floors and Ceilings for how to edit the ceiling height for the whole floor.
- Use this tool to toggle whether there is a flue or not in this room.
- Use this tool to change the name of the room.
- Use this menu to change the room type. This will also change the air changes in the room in line with the room type chosen.
- Use this button to delete the room.
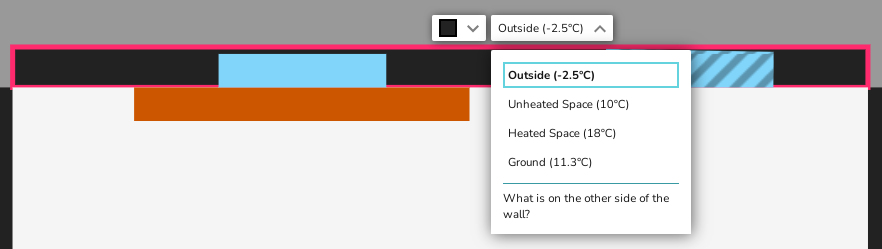
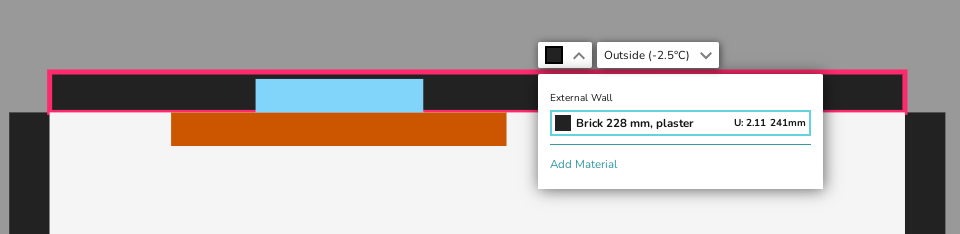
You will need to define what is on the other side of your external walls. Heatpunk will automatically set this as Outside. To change this, click on walls and use the drop down menu to define what is on the otherside.
Walls, Windows and Radiators
Click on wall, radiators, windows and doors to change their material. The materials shown will be those chosen in your palette. The default defined in your palette will be used initially. If the material you need is not in your chosen palette, you can add a custom material at this stage. Please see the guide on Managing Your Material Library for more details on this topic.
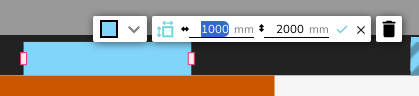
To change the width on windows, doors and radiators you can click and drag the pink handles at each end. Alternatively, you can also click on windows, doors, and radiators, then select the dimensions icon to change their dimensions, including height.